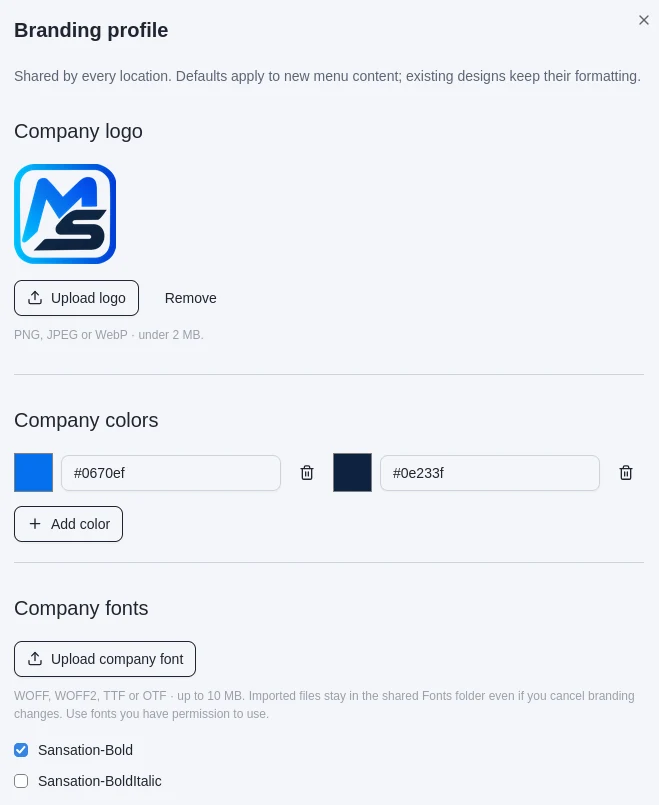
Administrators open Branding profile from their profile page. The settings are shared across every location. Company details help identify your organization, while selected colors and fonts make new menu content easier to keep consistent.
Complete the branding profile
Company logo
Upload a PNG, JPEG, or WebP logo smaller than 2 MB, or remove the current logo. A clear company logo helps your team recognize the organization in MenuStudio.
Company colors
Add the colors your team uses in its menus and brand materials. Enter a color value or use the color picker, and remove colors that are no longer needed. A saved palette gives menu creators a consistent set of colors to choose from.
Company fonts
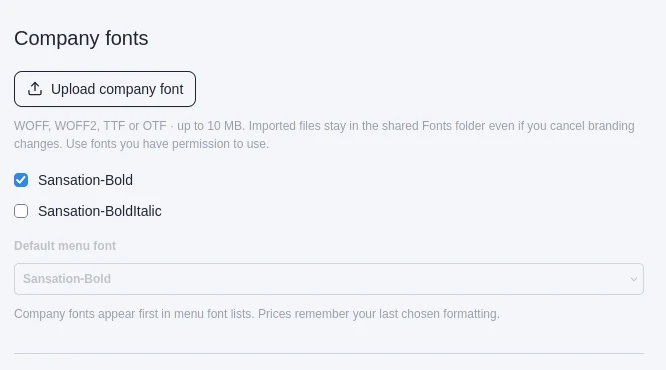
Upload WOFF, WOFF2, TTF, or OTF font files up to 10 MB. Select the company fonts you want available in menus, then choose a default menu font if you want one. Company fonts appear first in menu font lists. Existing designs keep their formatting; branding defaults apply to new menu content. Imported font files stay in the shared Fonts folder even if branding changes are cancelled.
Use font files you have permission to use.
Assign request reviewers
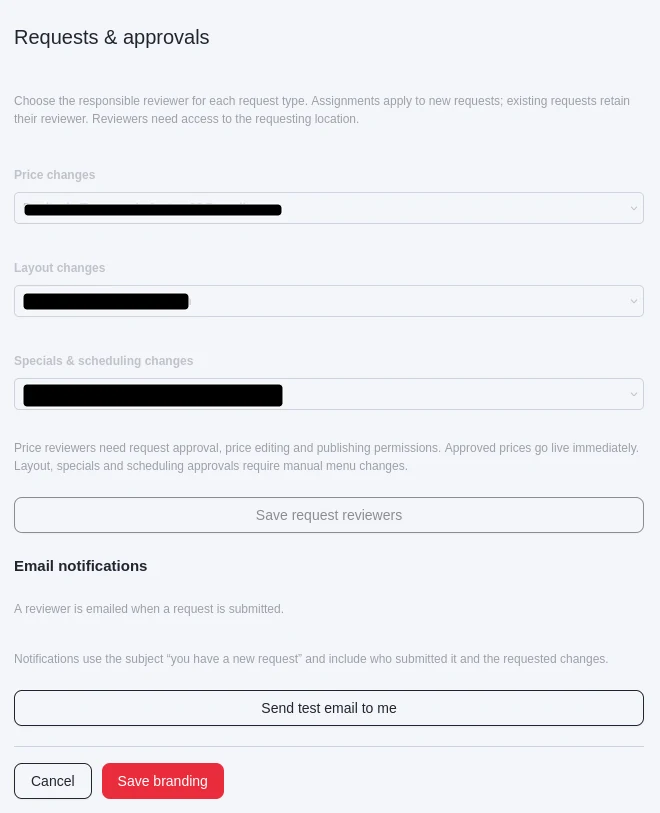
In Requests & approvals, choose a responsible reviewer for each request type: Price changes, Layout changes, and Specials & scheduling changes. Reviewers must have access to the location where a request is submitted. Assignments apply to new requests; requests already submitted keep their current reviewer.
Price reviewers need permission to review requests, change prices, and publish menus because an approved price request goes live immediately. Layout and specials or scheduling approvals require the team to make the requested menu changes manually. Save the reviewer assignments when finished.
When email notifications are configured, MenuStudio emails the reviewer when a request is submitted. Use Send test email to me to check the notification setup. If email is not configured, requests still appear in MenuStudio and an administrator can retry unsent notifications after setup.